An arch wall is one of the quickest ways to add visual interest and architectural character to a living room without undertaking a major renovation. Whether it’s a curved focal point above a fireplace, an arched niche behind a sofa, or a structural feature waiting to be styled, arch wall decor can elevate the entire room’s aesthetic and perceived value. This guide walks through seven proven approaches to decorating arch walls, from minimalist designs to nature-inspired installations, so homeowners can choose styles that match their taste and skill level. Most of these projects require only paint, modest hardware, or decorative elements, making them accessible to DIYers of any experience.
Key Takeaways
- Living room arch wall decor adds visual interest and architectural character without requiring major renovation, making it accessible for DIYers of any skill level.
- Minimalist line art and geometric designs using painter’s tape or peel-and-stick decals create modern visual impact while staying easy to refresh or remove.
- Botanical installations—from hanging plants to framed botanicals and nature-inspired wallpaper—bring organic warmth and texture to arch walls while pairing beautifully with neutral décor.
- Mirrored tiles and metallic accents amplify light, create the illusion of expanded space, and add sophistication, especially effective behind seating or near windows.
- Strategic lighting integration using LED strips, recessed lights, or wall sconces transforms an arch into a 24-hour focal point that doubles the visual impact of your décor.
- Proper placement, surface prep, and careful measurement are essential—prioritize safety permits for electrical work and test adhesive products on inconspicuous spots before full installation.
What Makes Arch Wall Decor So Impactful
An arch naturally draws the eye upward, creating a sense of height and elegance in any room. The curved line breaks up flat, boxy walls and introduces visual movement that more angular features can’t achieve. When decorated intentionally, an arch becomes a statement piece, a focal point that anchors furniture placement, color schemes, and the overall flow of the room.
Arch wall decor works because it combines form and function. It doesn’t require structural changes or permits in most cases, especially if you’re working with existing architectural arches. Even if adding a decorative arch to a flat wall, you’re investing in perceived luxury without the cost of structural renovation. The key is choosing a design approach that complements the room’s existing style, whether that’s modern, transitional, eclectic, or traditional.
Proper placement amplifies impact. An arch directly above a fireplace, behind seating, or at the entry point to a living room becomes impossible to ignore. Lighting, color contrast, and scale all play roles. A well-executed arch wall makes small rooms feel more spacious and large rooms more intimate.
Minimalist Line Art and Geometric Designs
Minimalist decor on an arch wall uses simple shapes, thin lines, triangles, circles, or concentric curves, to create visual impact through restraint. This approach suits modern and Scandinavian interiors perfectly and won’t overwhelm smaller spaces.
For a paint-based approach, use painter’s tape to create clean geometric patterns directly on the arch. Start by lightly sketching the design with a graphite pencil (2H hardness works well for easy erasing). Measure and mark key points using a level and measuring tape. Once you’re confident in placement, apply painter’s tape along the lines, ensuring edges are pressed firmly to prevent paint bleed. Use a semi-gloss or satin finish paint in a contrasting color, white on soft gray, matte black on warm beige, or soft gold on white, for definition.
For more complex geometric patterns, consider a removable peel-and-stick geometric decal. These come in various sizes and colors, adhere cleanly to primed or painted surfaces, and remove without damage (test in an inconspicuous spot first). This option saves hours of tape work and reduces error risk.
Line art works best when kept to one or two colors. A single-color accent line floating along the curve of the arch, or a symmetrical geometric shape centered within the arch, delivers punch without visual clutter. This style is also the easiest to refresh or remove if your tastes change.
Botanical and Nature-Inspired Installations
Nature-themed arch decor brings organic warmth into living rooms. Hanging plants, preserved botanicals, or wallpaper featuring leaves, vines, or florals soften architectural lines and add texture.
Living Plant Installations: Suspended hanging planters or wall-mounted plant shelves along the arch’s curve create a living, breathing element. Use lightweight pothos, philodendron, or heart-leaf arrowhead plants, they’re forgiving, grow quickly, and cascade beautifully. Install heavy-duty wall anchors rated for at least 10 pounds per bracket if mounting shelves. Check building codes for any moisture concerns: ensure plants won’t create water damage on walls or flooring below. Water carefully to avoid drips on surfaces below. This approach requires minimal installation but demands ongoing plant care.
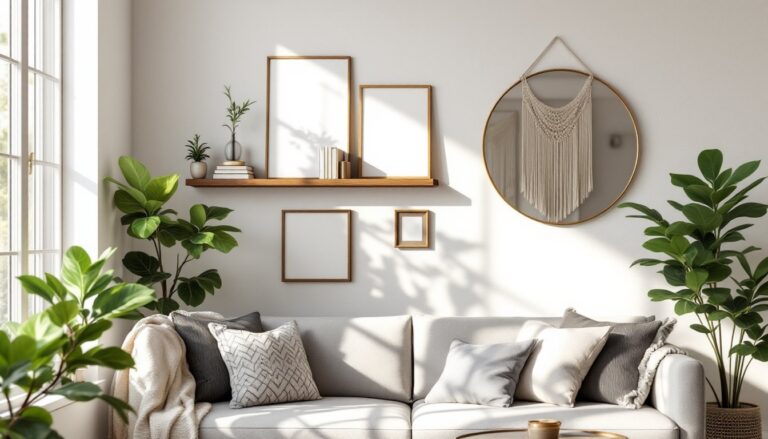
Preserved Botanicals: Framed pressed flowers, seed pods, or dried branches offer a lower-maintenance alternative. Arrange frames or wall-mounted specimens in a clustered or symmetrical pattern that echoes the arch’s curve. This adds texture and visual interest without watering schedules.
Nature-Inspired Wallpaper: Removable or permanent peel-and-stick wallpaper with botanical motifs can cover the entire arch or just the outer edge, depending on the design and your preference. Prepare the wall with primer (especially important if the wall has existing paint or stains), measure carefully, and apply the wallpaper slowly, smoothing out air bubbles with a soft scraper or squeegee. Quality peel-and-stick products hold for years: cheaper versions may yellow or peel early.
Botanical decor pairs well with natural wood accents and neutral wall colors, creating a cohesive, calming aesthetic.
Mirror and Metallic Arch Accents
Mirrors amplify light and create the illusion of expanded space, critical benefits in living rooms. A mirrored arch or mirrored panels arranged within or around an arch reflects light throughout the room and adds a touch of glamour.
For an arched mirror, custom-cut glass is pricey. A budget-friendly workaround uses multiple small adhesive-backed mirror tiles (typically 1 to 4 inches square) arranged to follow the arch’s curve. Clean the wall thoroughly with TSP (trisodium phosphate) or degreaser, prime with primer suitable for glossy surfaces, and allow to dry. Apply tiles one by one, pressing firmly for 30 seconds each. Use construction adhesive or heavy-duty mirror mastic, not regular silicone, it won’t hold mirrors long-term. Stagger the layout or keep it neat and grid-like, depending on your style.
Metallic Accents: Gold, copper, or brass finishes bring warmth and sophistication. Consider metallic paint applied with a foam roller to create a shimmering arch frame or accent stripe. Test on cardboard first, metallic paints behave differently than flat acrylics. Alternatively, install brass or gold-finish metal trim around the arch’s perimeter using small finishing nails or adhesive-backed metal tape. These are lower-cost alternatives to full repainting or resurfacing.
Mirrored Wallpaper: Reflective wallpaper (often mylar-based) creates a luxe effect with less fragility than glass mirrors. It’s easier to install and remove than traditional mirrors but can show dust and fingerprints.
Metallic and mirrored finishes brighten darker living rooms and work especially well behind seating or adjacent to windows.
Textured Wall Treatments and Wallpaper Solutions
Textured surfaces add depth and visual interest without relying on color alone. Textured paint finishes (popcorn, knockdown, or stucco effects) create shadow play and tactile appeal. These finishes also hide minor wall imperfections better than flat or satin paints.
For a knockdown finish, apply joint compound or specialized knockdown material to the wall using a paint roller or spray apparatus. Before it fully dries, lightly flatten peaks with a putty knife held at a shallow angle. This creates a subtle, crafted appearance. Practice on cardboard first, the timing and pressure matter for consistent results. Knockdown finishes are moderately difficult but achievable for confident DIYers.
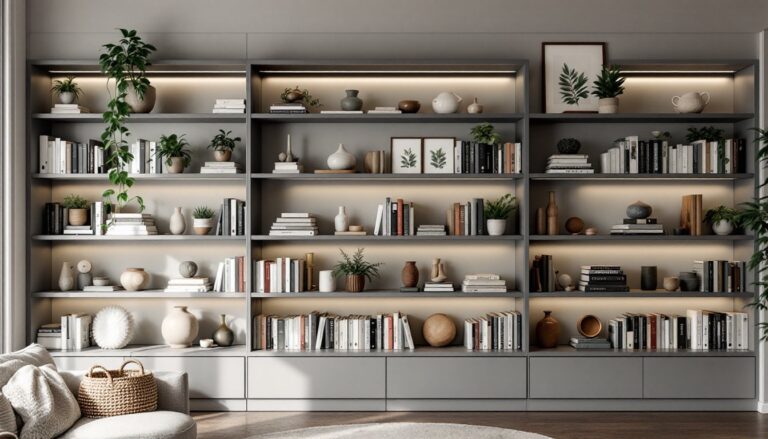
Textured Wallpaper: Grasscloth, linen-look, or embossed wallpaper adds genuine tactile dimension. Quality options are durable and add perceived luxury. Lighter textures work in small spaces: bolder patterns suit larger arches. Installation is similar to regular wallpaper: prime the wall, apply paste (or use peel-and-stick if available), smooth carefully, and trim excess with a utility knife.
Shiplap or Paneling: For a statement-making arch, install tongue-and-groove boards or shiplap across the curved surface. This is more involved, requires cutting boards to fit the curve, securing with finish nails or construction adhesive, and sealing or painting. Pre-primed shiplap saves finish time. This approach works best on shallow arches or decorative features rather than deeply recessed structural arches.
Textured finishes pair beautifully with neutral colors and work across traditional and contemporary styles.
Lighting-Integrated Arch Features
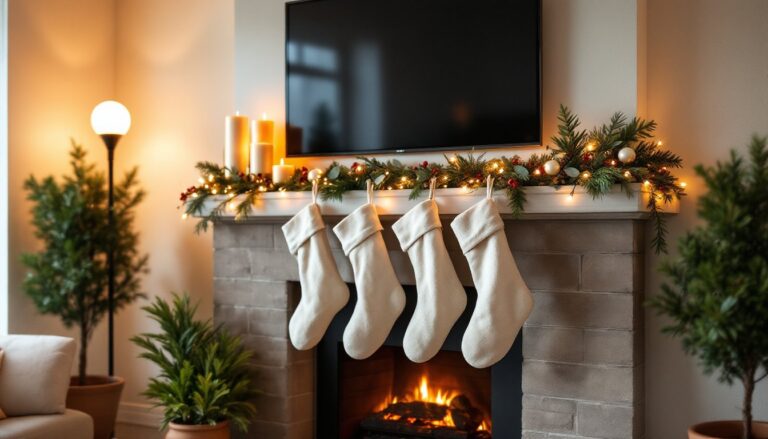
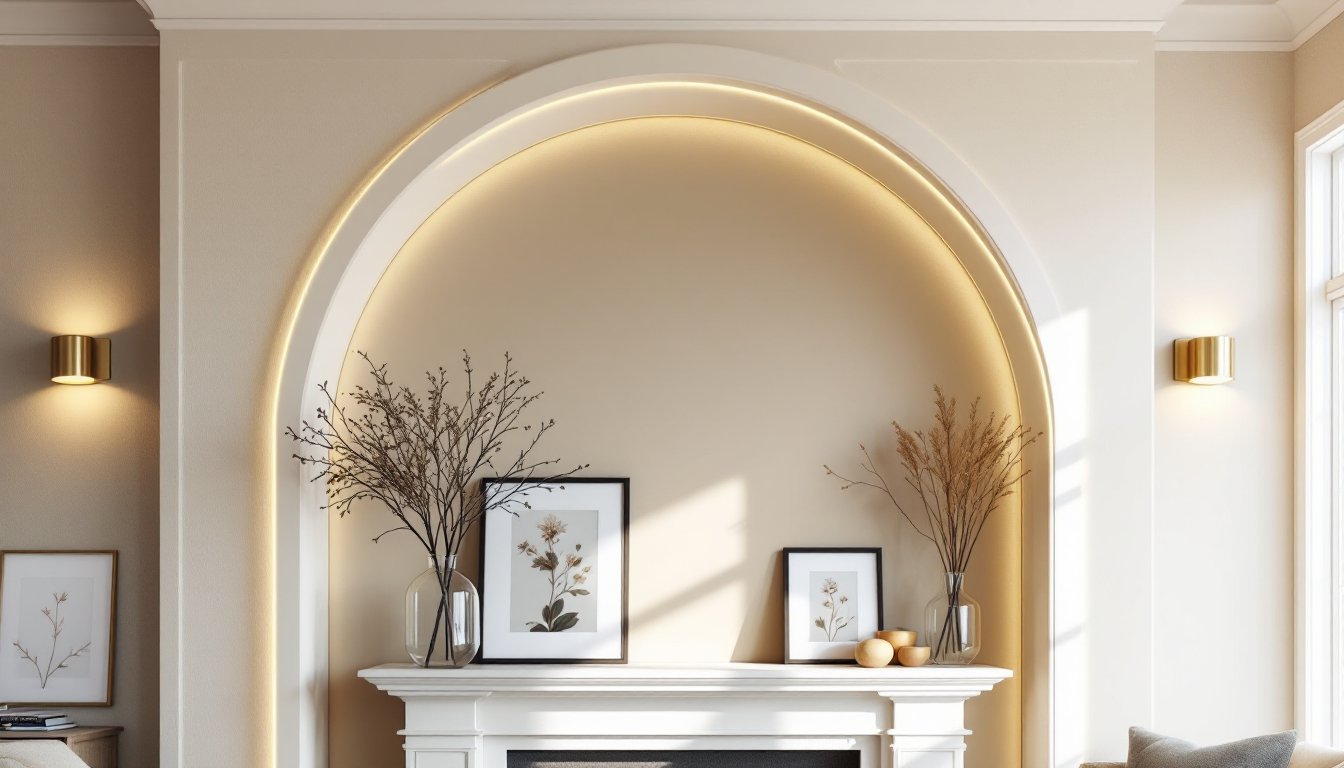
Strategic lighting transforms an arch from a daytime design element into a 24-hour focal point. LED strip lights, recessed lighting, or wall sconces can be integrated into or around the arch to highlight its form and function.
LED Strip Lights: Adhesive-backed flexible LED strips (typically 12V or 24V) follow curved surfaces easily. Run strips along the outer edge of the arch or inside a recessed arch to create a halo effect. Installation involves cleaning the surface, peeling the adhesive backing, and pressing the strip firmly in place. Connect to a low-voltage power supply hidden behind trim or furniture. These use minimal electricity and generate little heat, making them safe for most wall types. Some strips are dimmable or RGB (color-changing), useful for adjustable ambiance.
Recessed Lighting: For a permanent, integrated look, install recessed downlights or accent lights in the ceiling or soffit above the arch. This requires running electrical wire (typically 14/2 or 12/2 cable), cutting holes, and securing recessed light housings. This is electrical work, check local NEC (National Electrical Code) requirements and consider hiring a licensed electrician if you’re not experienced. Proper spacing, insulation clearance, and junction box placement matter for safety and code compliance.
Wall Sconces: Pair sconces on either side of an arch for balanced, symmetrical lighting. Mount them at eye level or slightly above (typically 60 to 66 inches from the floor). Installation involves finding studs, securing electrical boxes, running wire, and connecting fixtures. This also requires electrical knowledge, hire a pro if unsure.
Warm-toned lighting (2700K color temperature) complements most arch styles and creates cozy living spaces. Proper lighting doubles the visual impact of arch decor, especially in evenings.
Conclusion
Arch wall decor offers homeowners a practical way to add character and sophistication to living rooms without structural renovation or major expense. From minimalist geometric designs to nature-inspired botanicals, mirrored accents, textured finishes, and integrated lighting, the options suit every style and skill level. Start with surface prep, clean, prime, and measure carefully, and don’t skip safety warnings or permits for electrical work. Whether you’re refreshing a tired corner or anchoring an entire room’s design, an intentional approach to arch decoration delivers visual impact and lasting satisfaction.